
Welcome back rangers! Today we are going to introduce a new category for me to sort things with, The Hobby Arsenal. There are so many different approaches we can take when we sit down to hobby, there is no one right way to do something. That means that the inverse is true as well, so we must learn different techniques, and treat them like tools. The models that we want to prepare for the table top need work, this makes them the job. When we have achieved our goals our job is done, so technique can be viewed as the tools that completed our job.
Dry brushing is a technique as old as miniature gaming. Back when I got into the hobby back in the late 90s, dry brushing was mostly used to paint Metallics on minis. There wasn’t YouTube so we didn’t get constantly blasted with new and improved ways of highlighting. We had good old white dwarf and our local stores, so in my little world I was never shown the true potential of dry brushing.
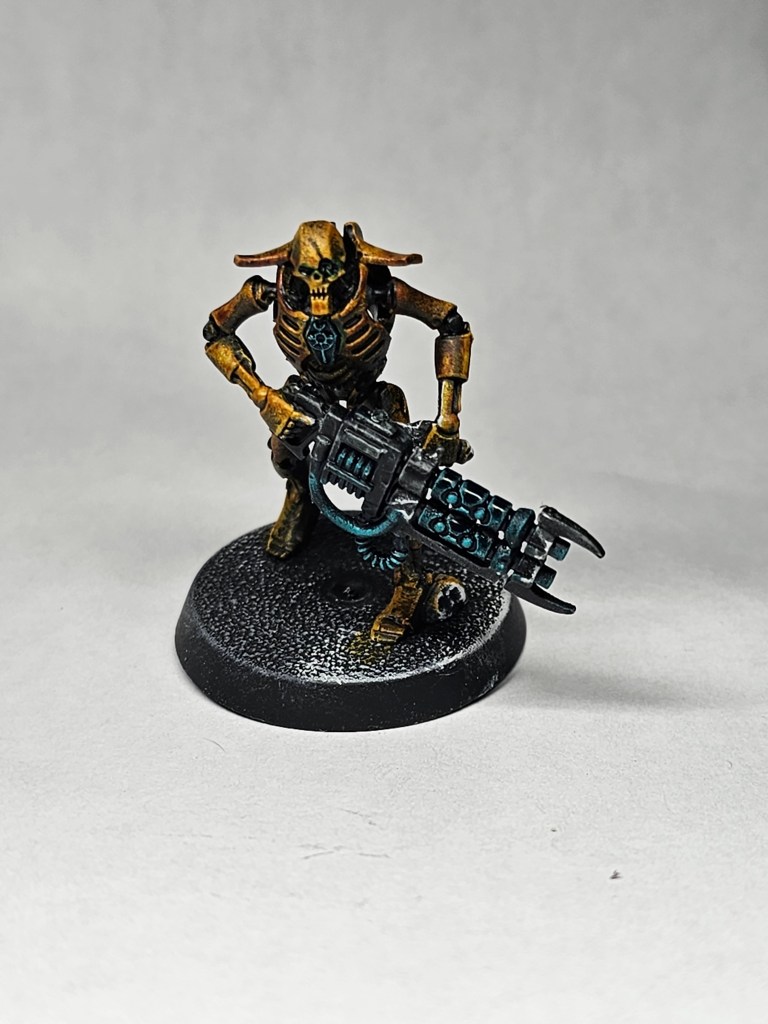
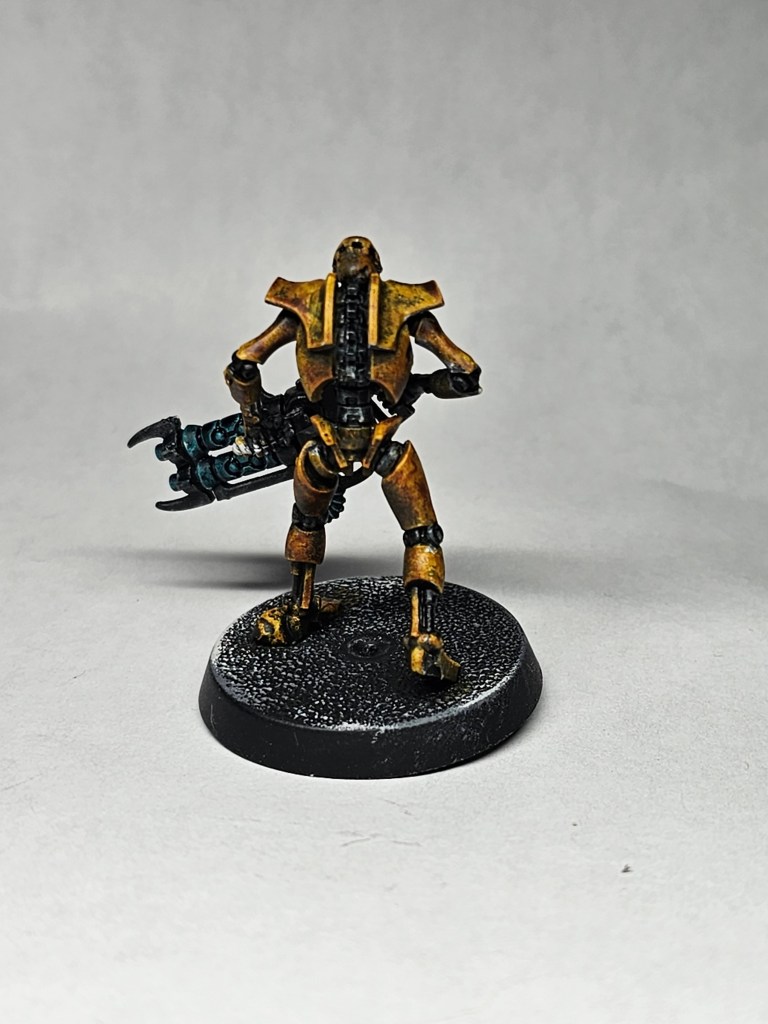
The process of dry brushing is simple and can be relatively quick. You might have heard of the latest craze in the mini game right now, it’s Slap Chop. This will be primarily how I will focus on teaching for right now, I have used it since contrast came out, and I believe it is the best way to get minis battle ready. For the next few Hobby Arsenals we will be learning the fundamentals of slap chop. The first lesson being dry brushing.
What slap chop accomplishes is a painted model with more definition to the tones of the color, as opposed to a model that was painted over a white prime. To achieve this we need to start with a black prime, after the prime we are going to dry brush a gradient from a medium gray to an almost white. The trick is to have the brightest colors all in specific areas, the brighter this is white the more vibrant the color will appear. We are just doing a pre-work out routine, so that when we put our one coat on, it looks like more than just the one.
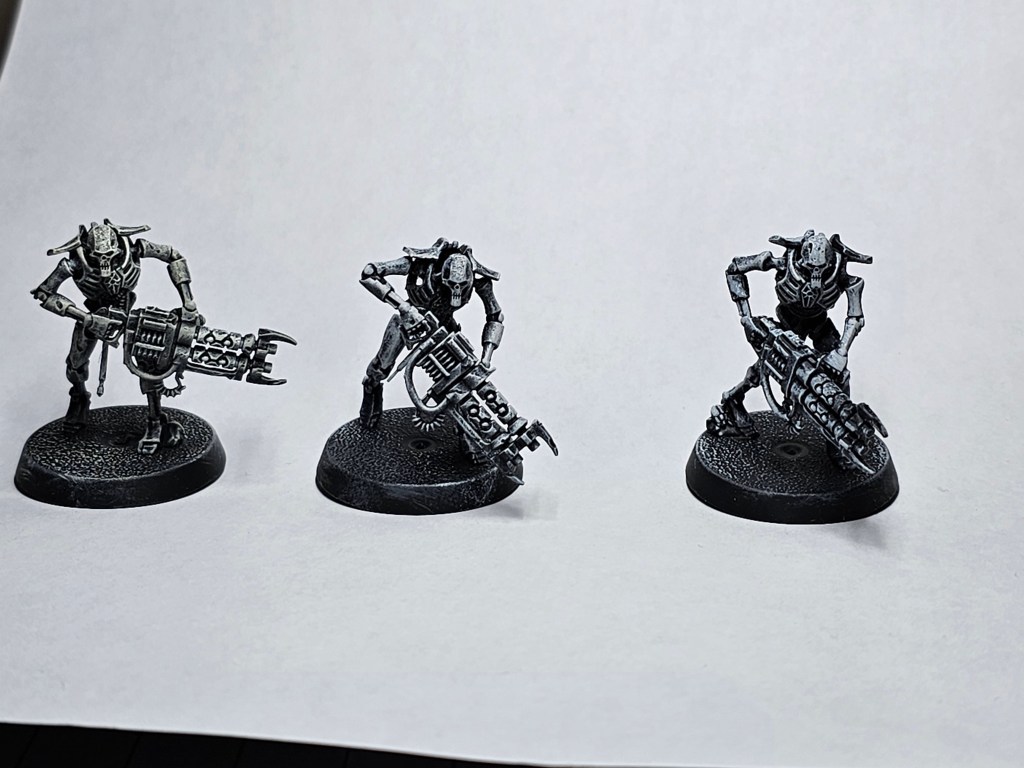

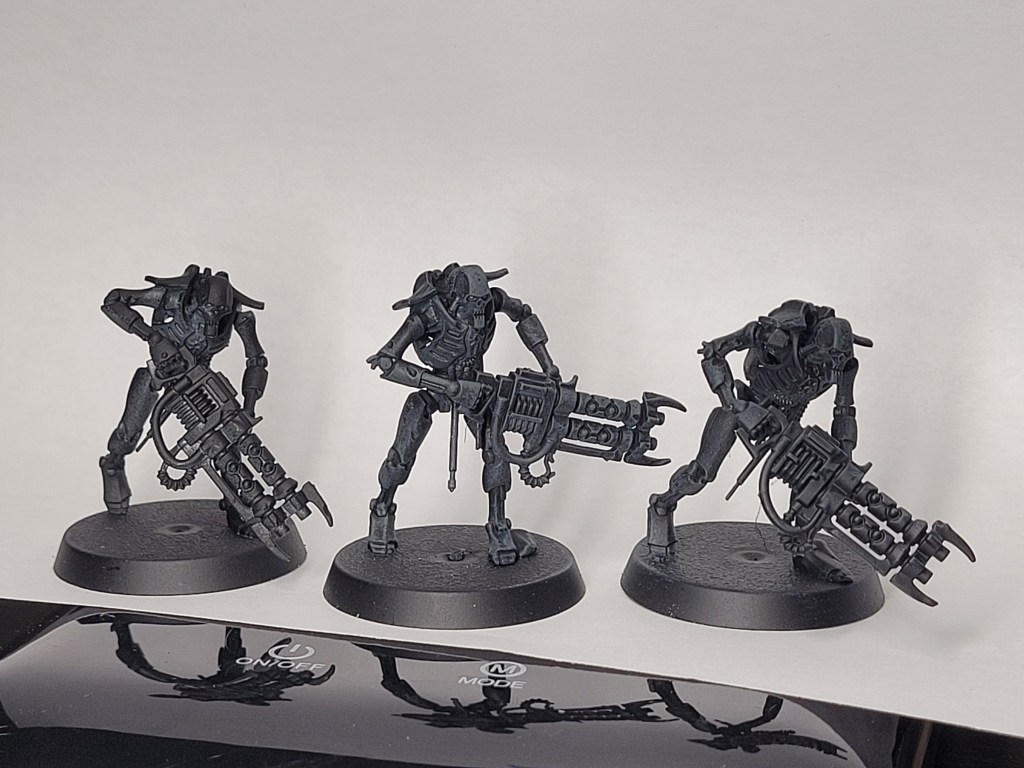
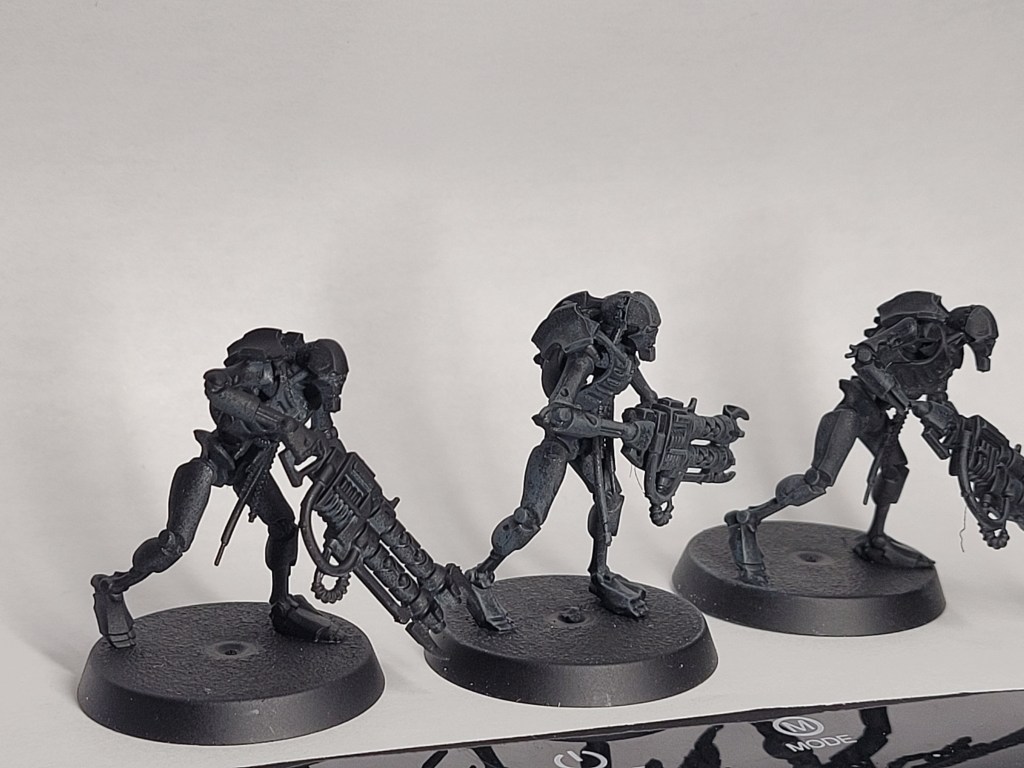
After we take some time to build our model, clean up any trim work that needs to be done, we need to prime him! I can write a book on primers, but not today just go get a black primer can and make your model black. This is the first step in our process, now when this little guy is dried up we are going to being painting him. We are going to want a medium gray, and an ivory. Pure white should be held onto if you really want to push focus to certain areas, it is subtle but it’s completely up to you.
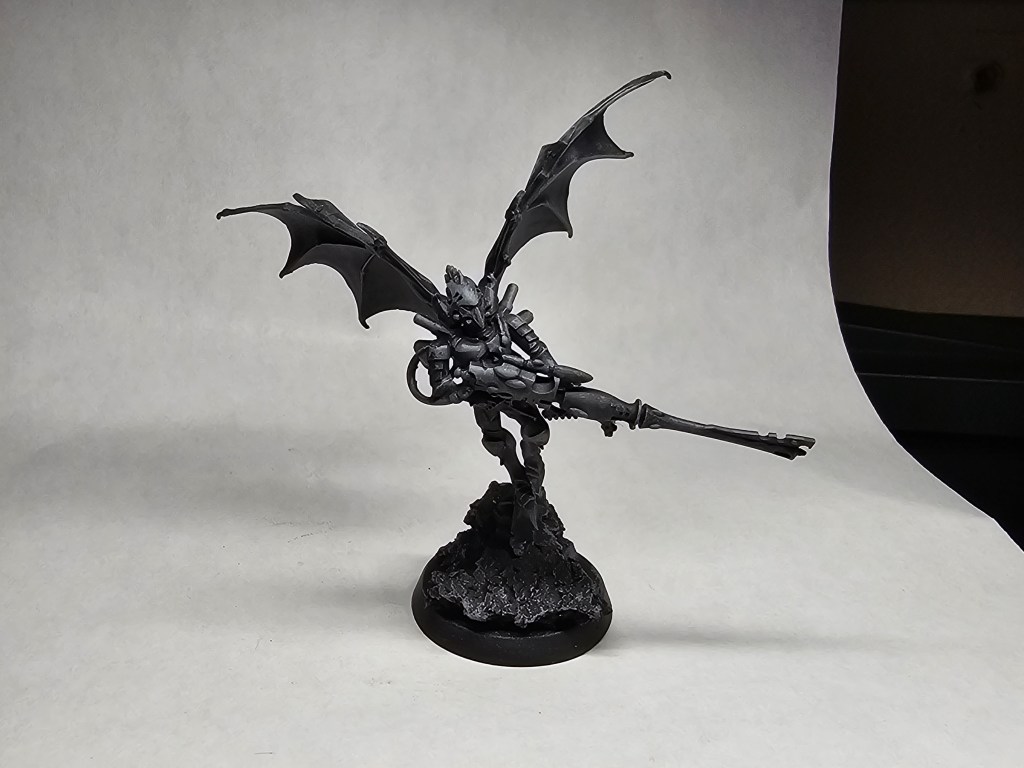
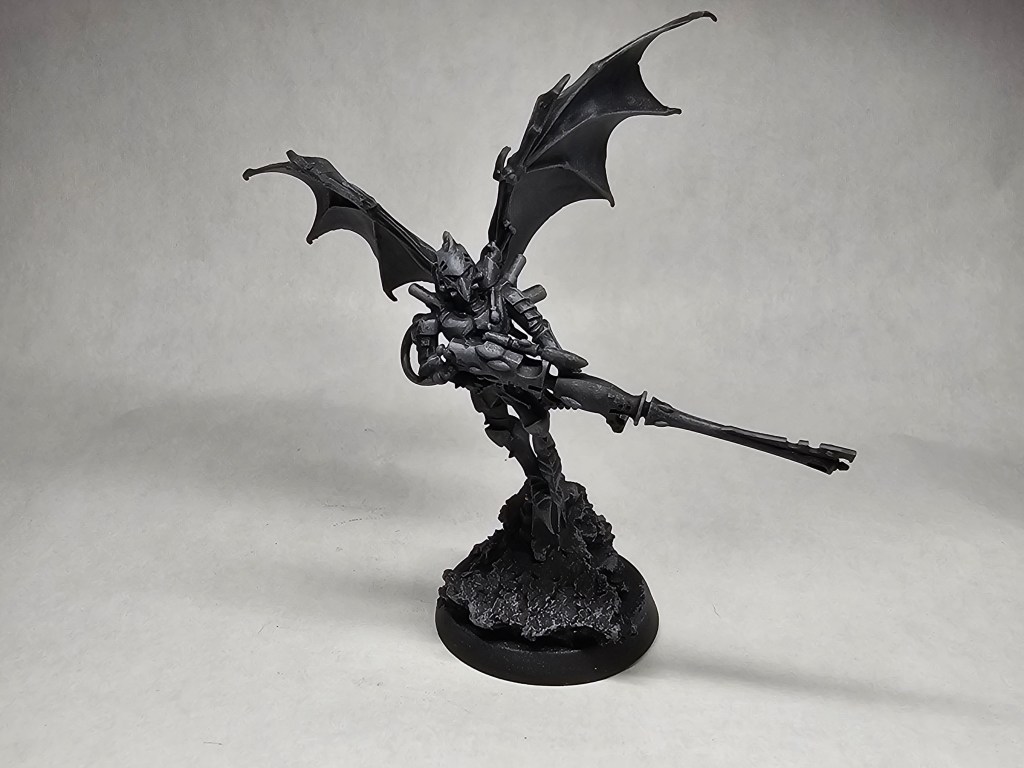
Now that we have our paints selected, we need to put the down on our pallet. Next let’s take a nice flat brush with a good size, put it in our paint. Next we are going to wipe off almost all the paint on either a paper towel, or piece of cardboard. Once most of the moisture is off, you need to paint from top to bottom down all over the model. The paint should catch on the raised surfaces of the model, and leave the crevices alone. We are starting to build a Zenithal highlight now, for those of you whinier airbrushes you will notice the pattern.

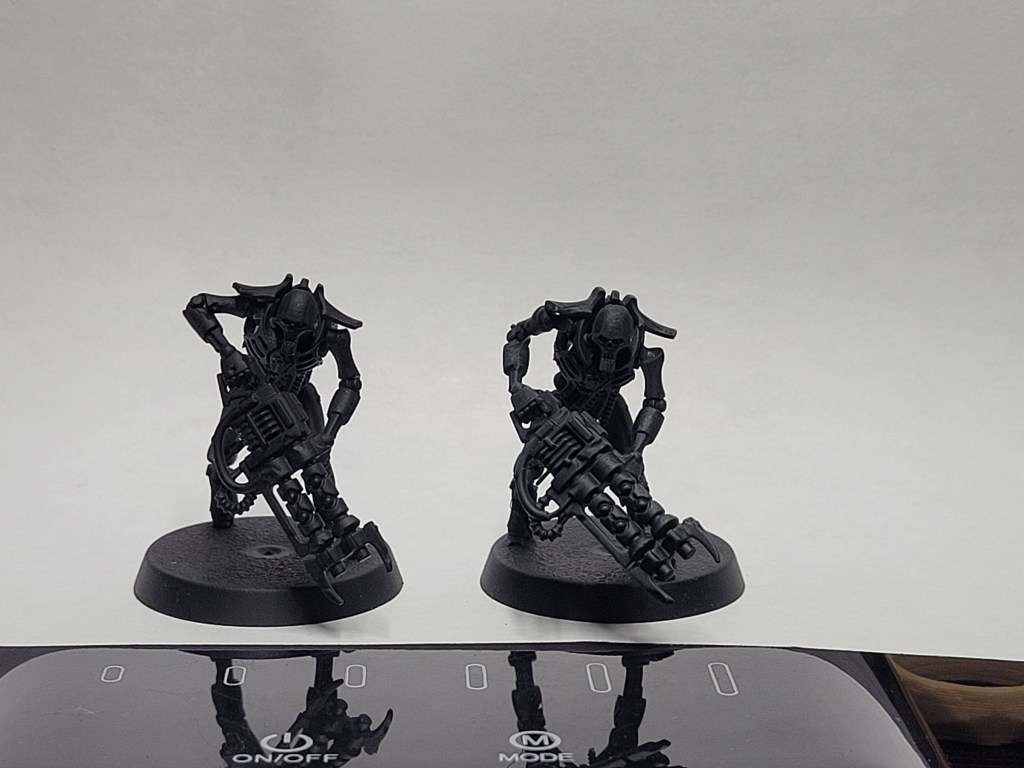
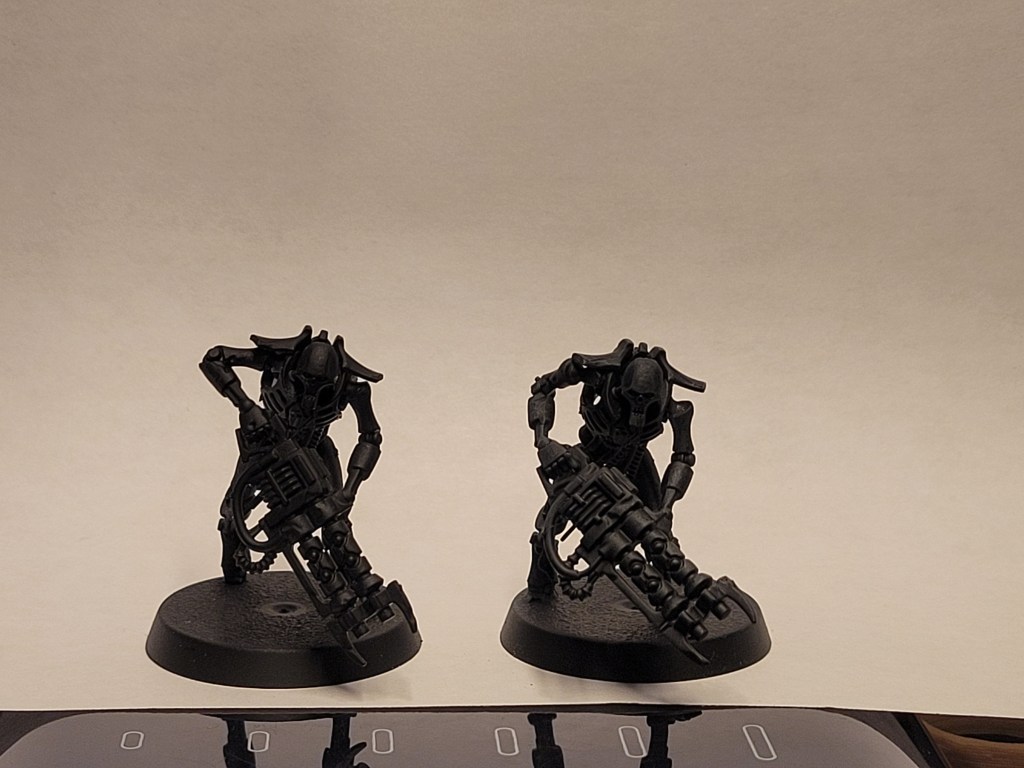
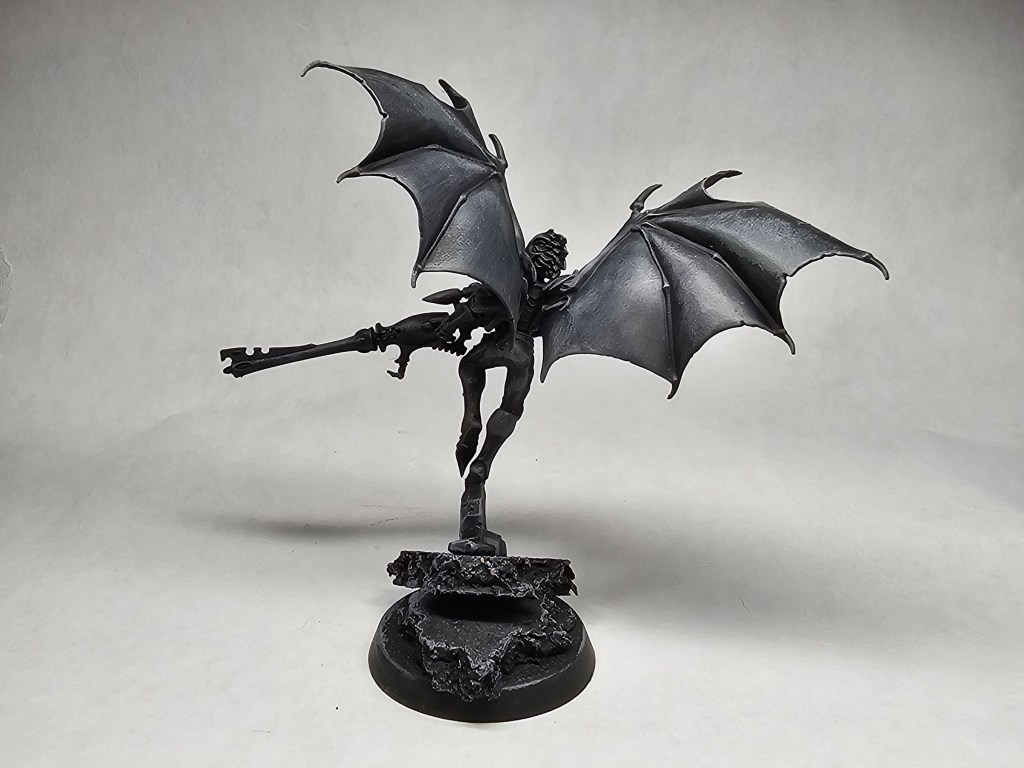
Once our paint is dried up, if we are satisfied with how bright the model is now, we can begin to paint. However if we need more highlights, we can just ivory. Here we will use a smaller flat brush, and concentrate on the same method of painting. This time trying to keep everything more restricted and to the most upper parts of the model.
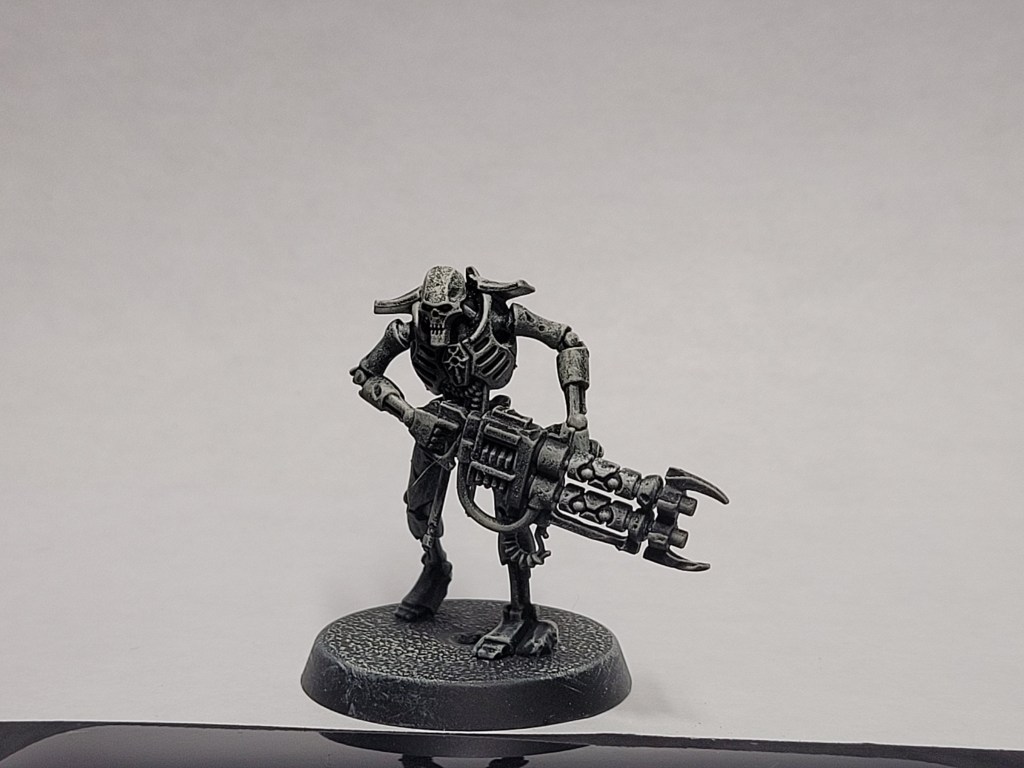
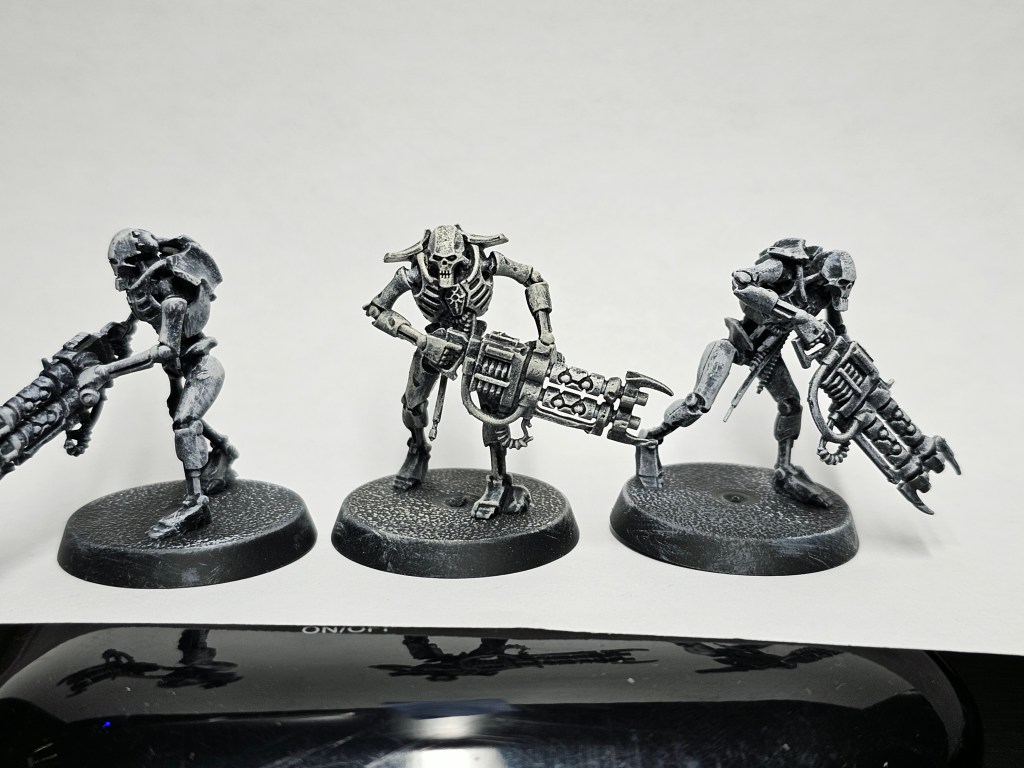
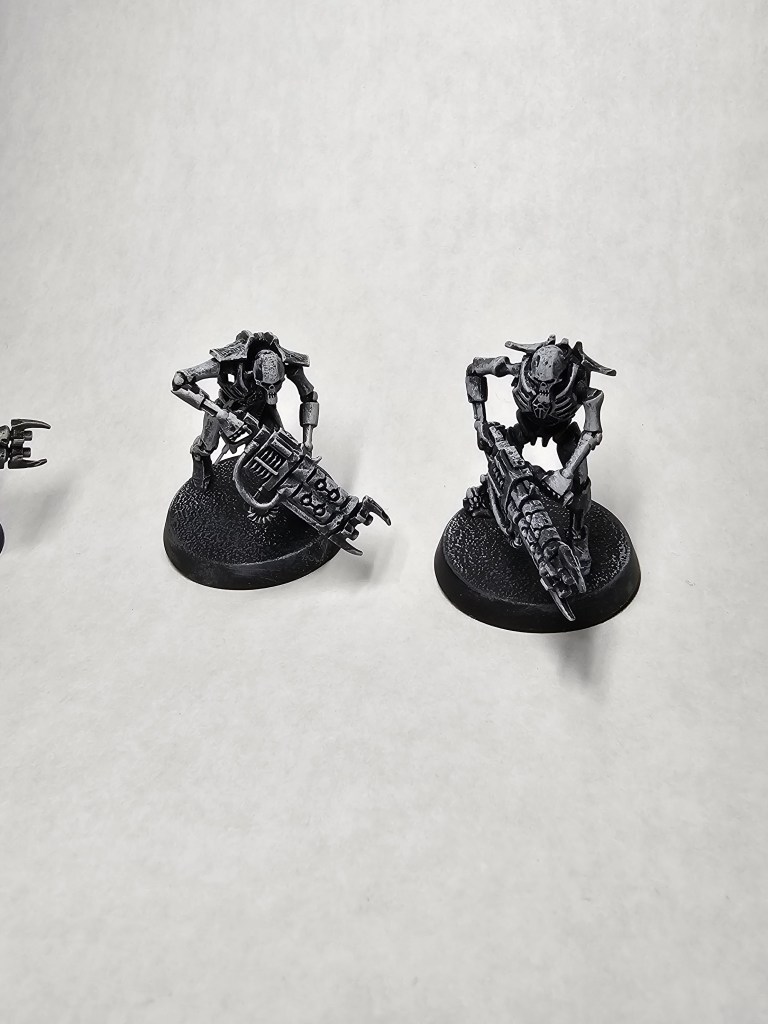
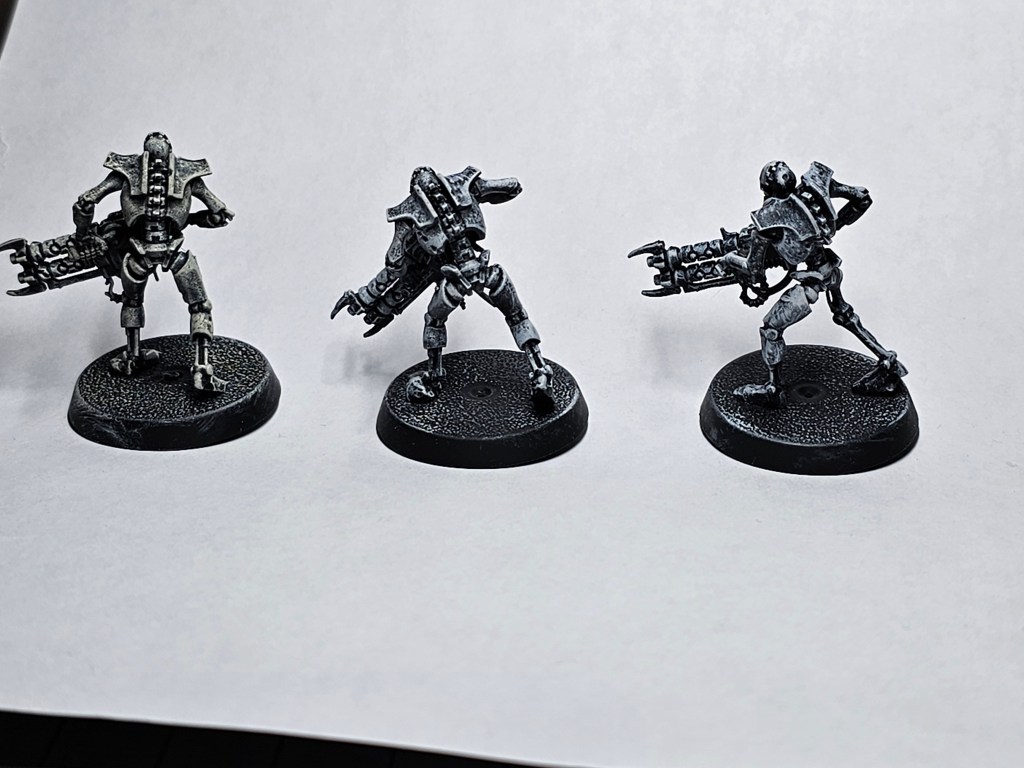
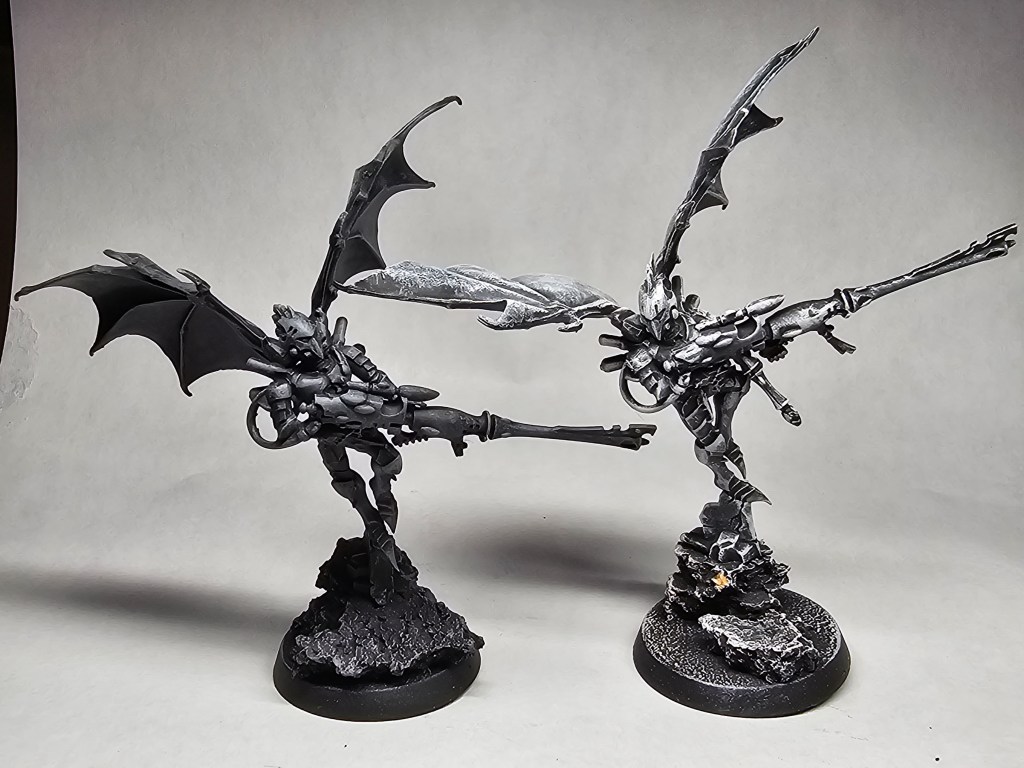
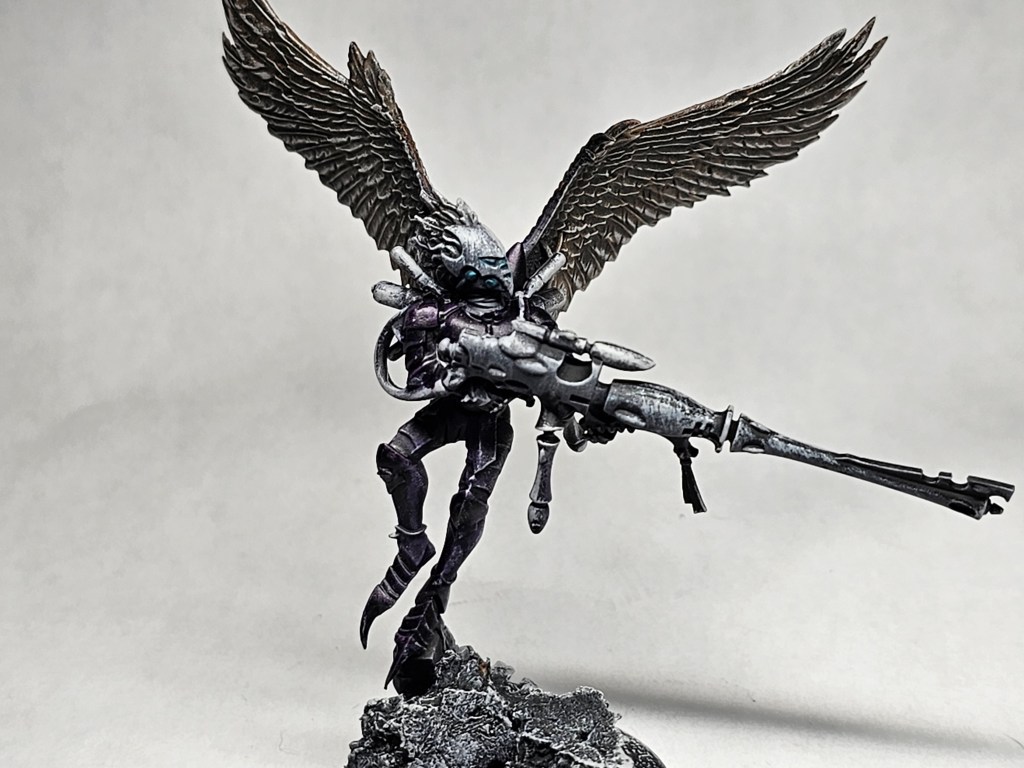
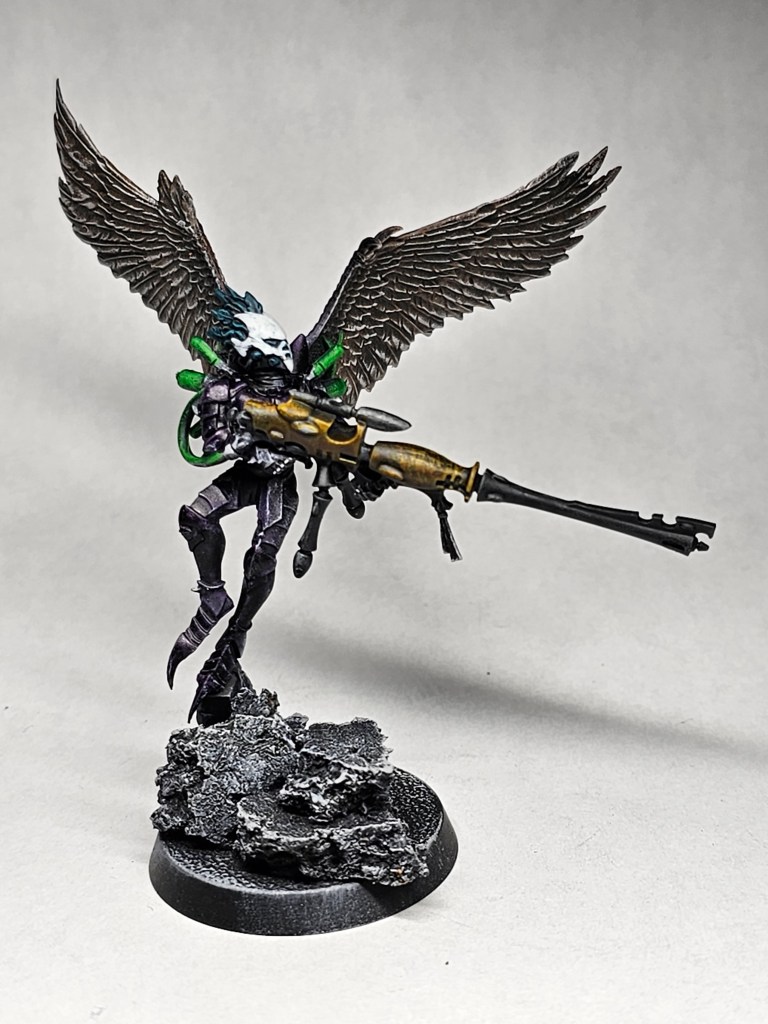
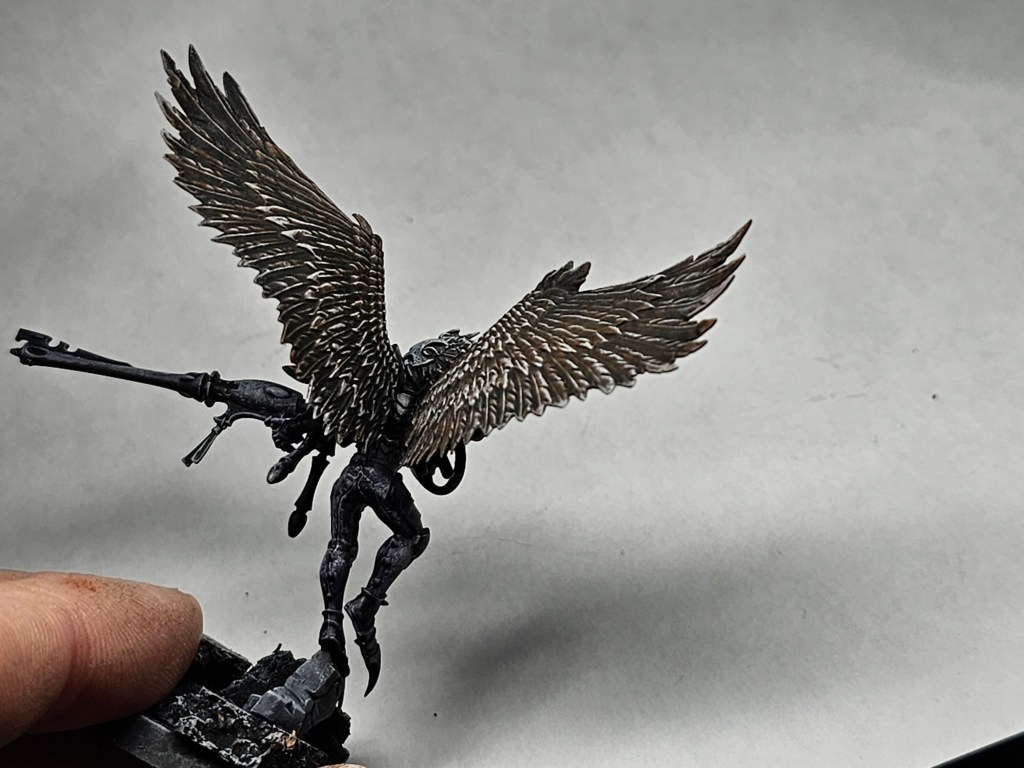
After a couple of gradient changes we should have a model that looks like this. We can see all the different transitions of white, this will really show when we apply our contrast paints.
There you have it, the basics of dry brushing. There isn’t a whole lot to it, just get out there and get some models ready for paint! The next step is going to be painting the slap chop method. Please let me know if you enjoyed this article, and if you have any further suggestions for dry brushing or anything else!
Stay classy rangers!
